Learn about how I create my prints
Each print is hand done using the back of a spoon and a labour intensive technique layering colours by inking up, wiping off the block, and printing over the top.
It means no two prints are the same and I do them individually.
See the my creative process flow of how I create the woodcut prints.
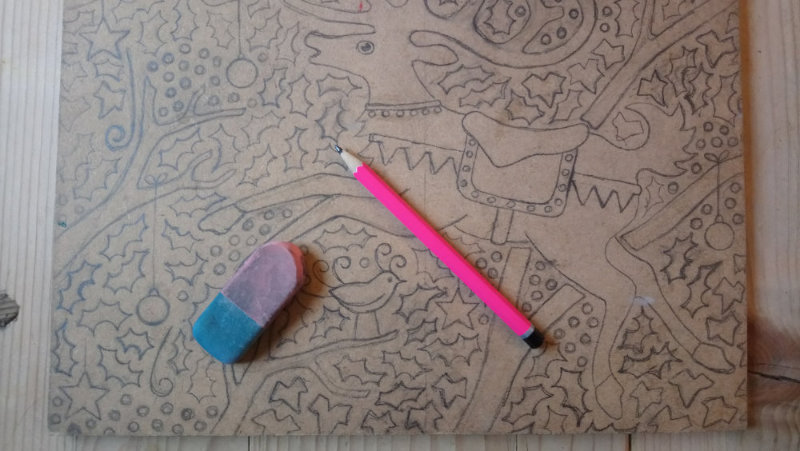
First I draw my design onto a block of MDF
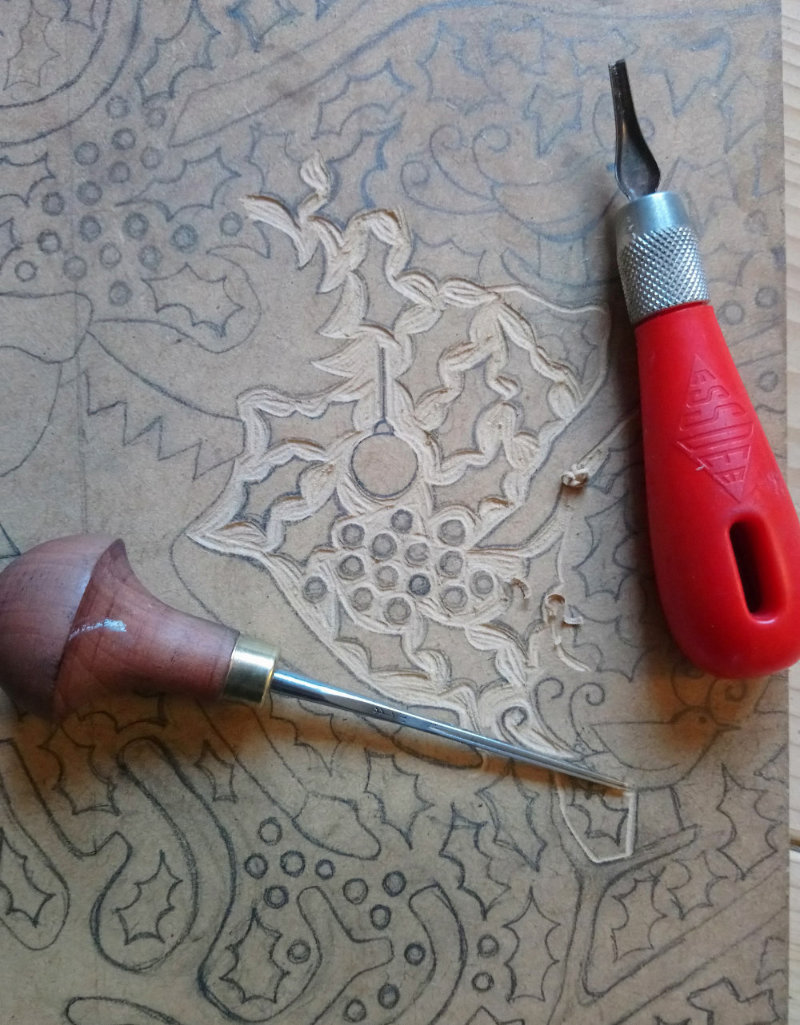
Then I carve out the design using lino cutting tools
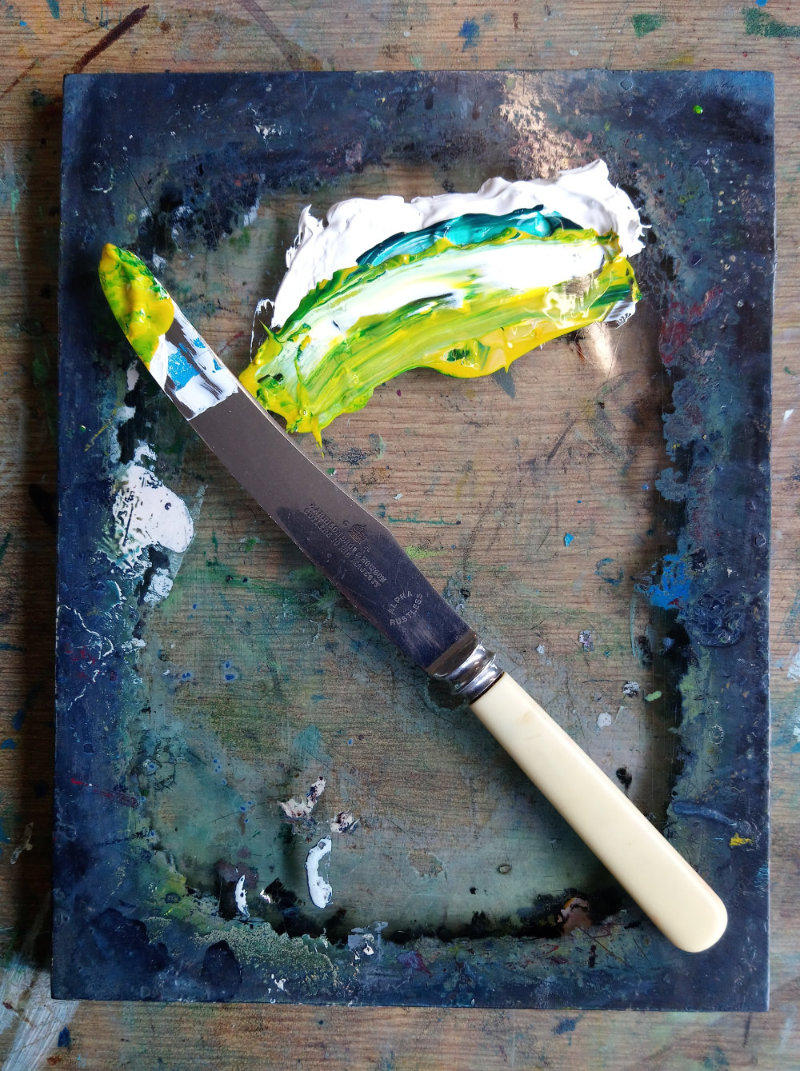
I mix the inks
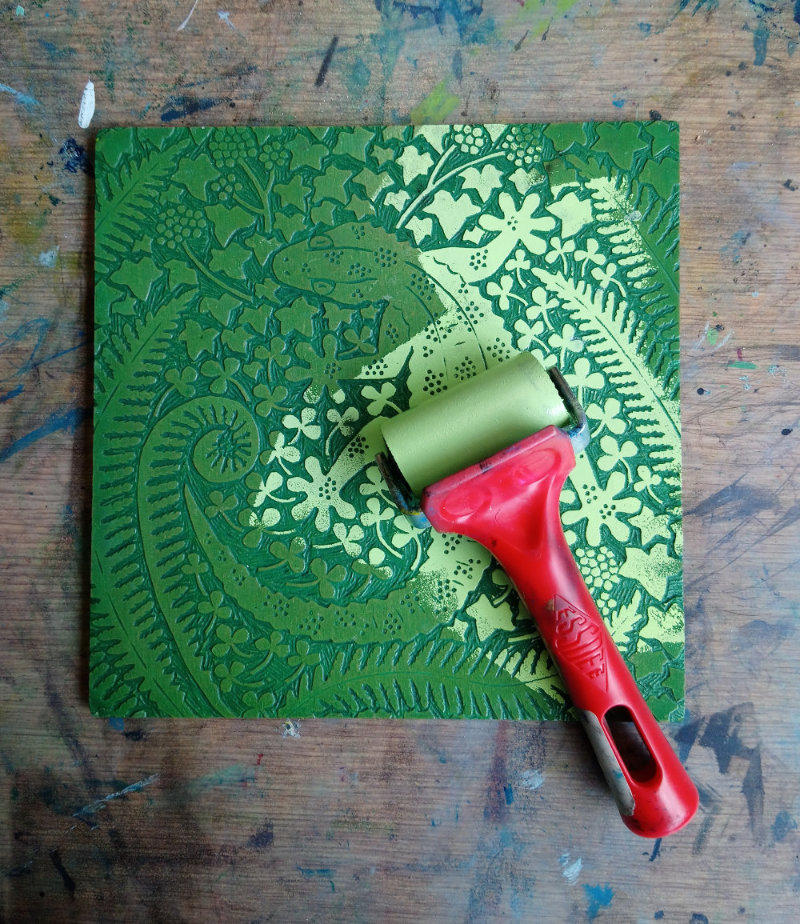
I ink up the block with a light shade of ink
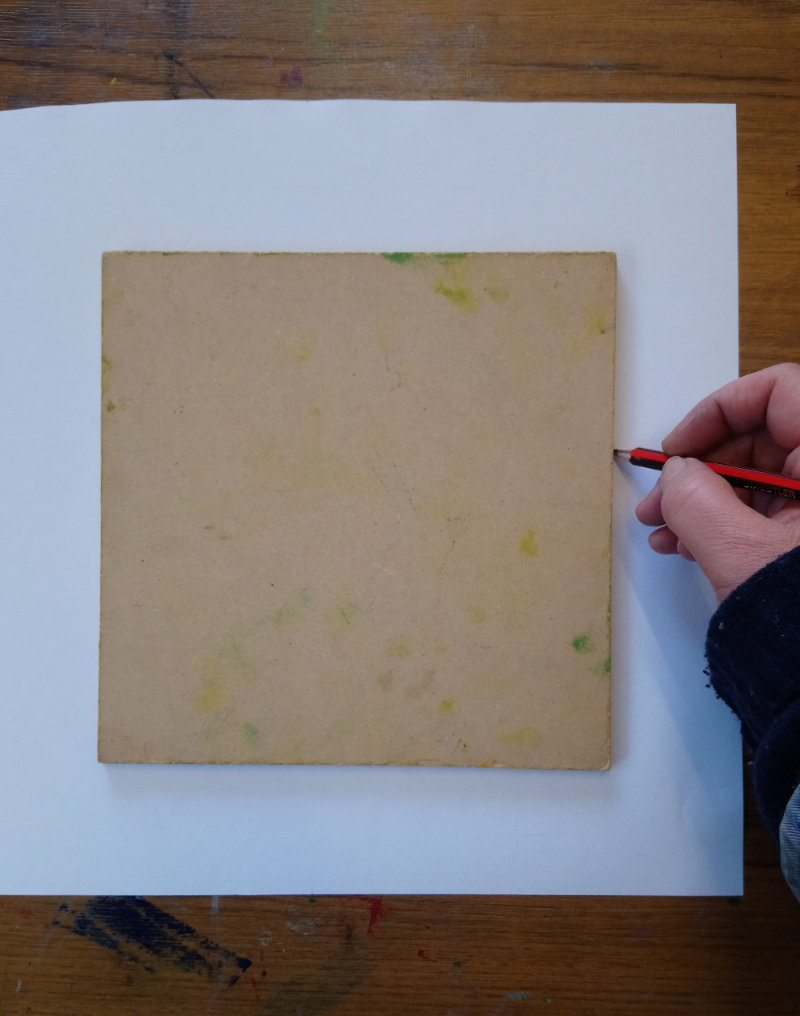
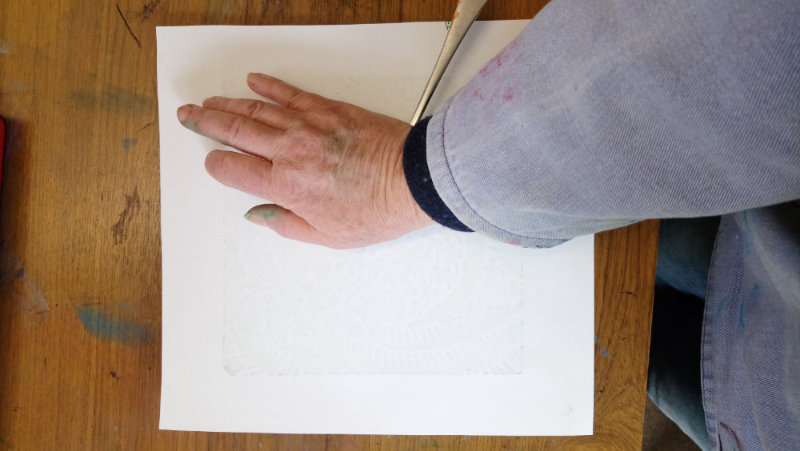
I draw round the block to help with registration after placing it ink side down on the paper
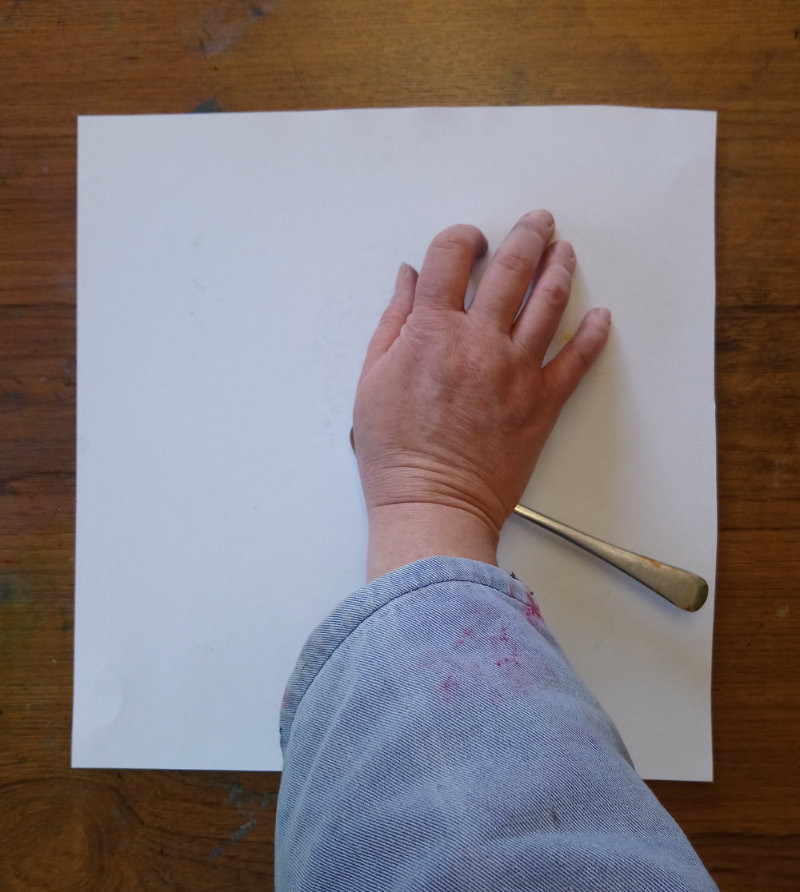
The inked block and paper are then carefully turned over so that the paper is on top of the block. Then the design is printed by rubbing hard with the back of a spoon
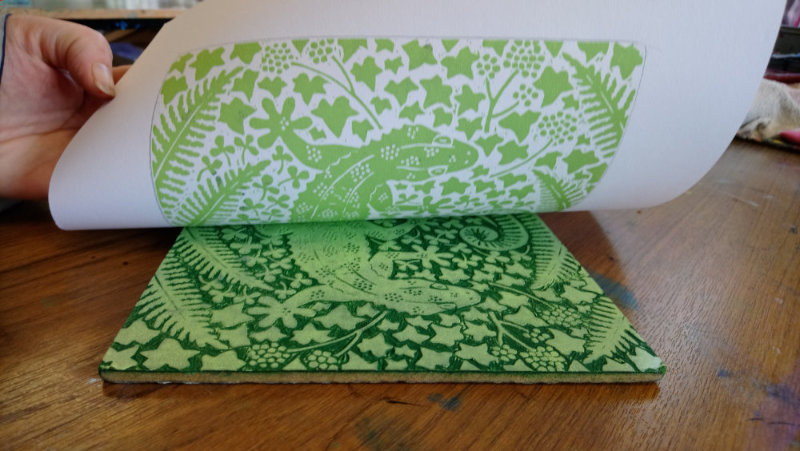
I peel away the paper & the first layer is complete
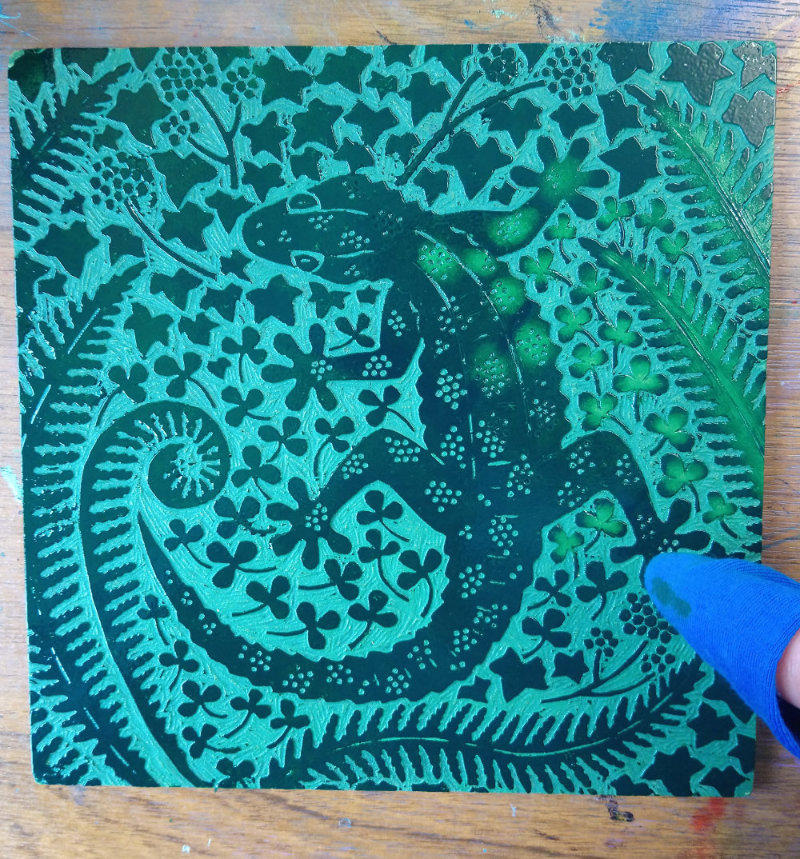
I ink up the block with the darker shade of ink
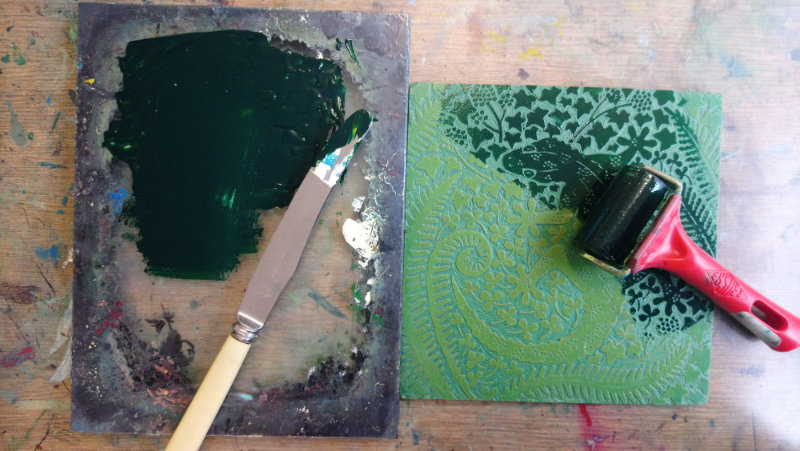
Then I wipe away areas of the dark ink off the block with a rag
A couple of hours later the block is prepared
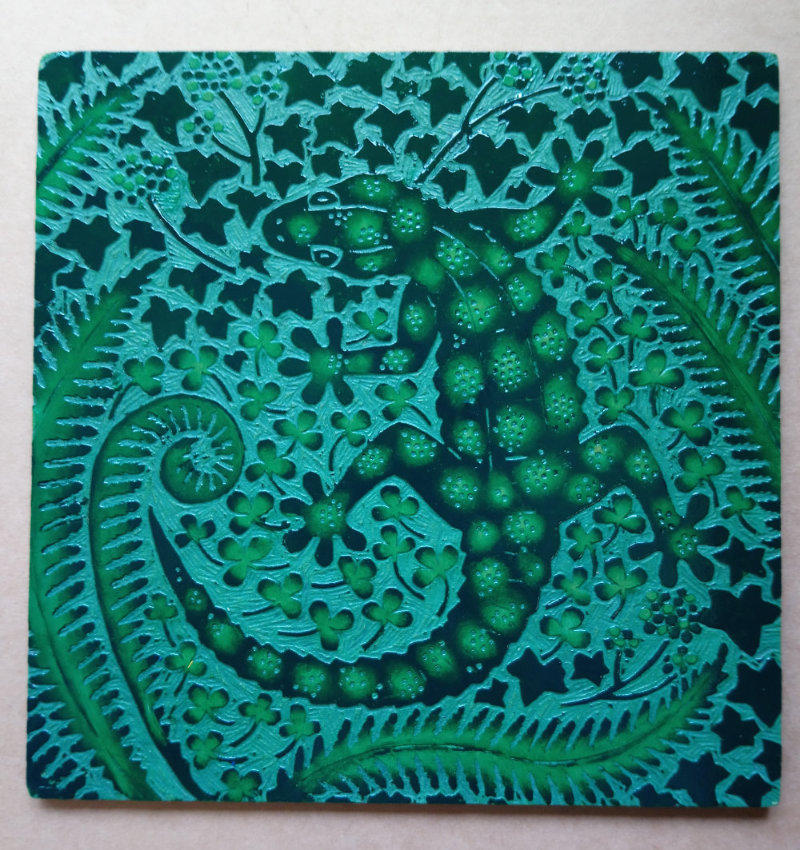
The block is prepared with dark green ink and is then placed on top of the light green print
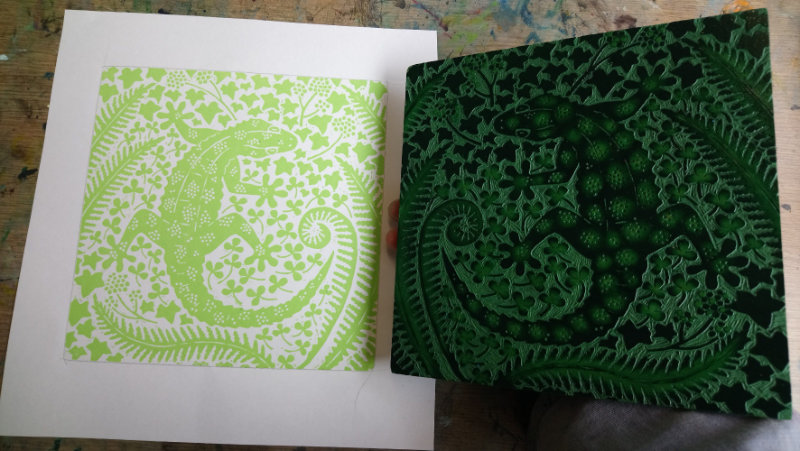
Then I print the block again
Revealing the end result


